Tutorials
Raspberry Pi Full Node Tutorials


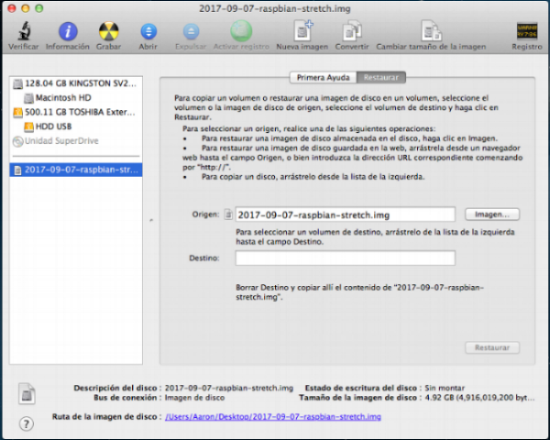
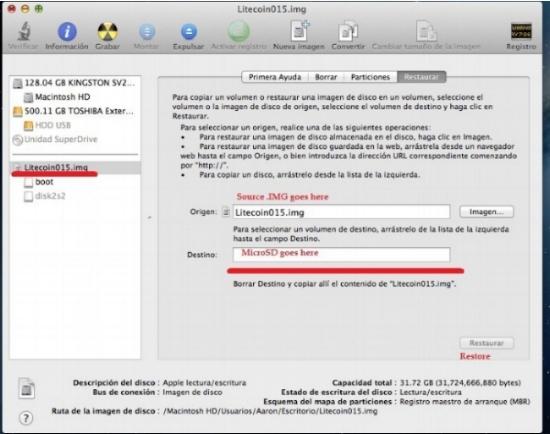
You can run a full Litecoin node on Raspberry Pi, given that you have the right setup, and the right software, needed to facilitate the same. For starters, here is the list of things you need Raspberry Pi 3 (or newer), 8GB microSD card (32GB is recommended), Power supply (Micro USB cable), HDMI cable (or HDMI-to-VGA adapter), Keyboard and mouse, Internet connection, Raspbian OS, Win32DiskImager.
Click on the image to find out step-by-step instructions. If you run into any issues while setting up your Litecoin full node in Raspberry Pi, review the previous steps and consider starting from the first step.
Running a full Litecoin node on Raspberry Pi is an affordable alternative to GPU and CPU-based computers. This affordability improves the adoption of Litecoin and ensures that it stays decentralized and democratic, which are the basic ideologies behind cryptocurrencies in the first place.
Lightning Network (LN) is a payment protocol that has been sound for a couple of years now. It allies users to send and receive bitcoins quickly and cheaply between each other. It solves one of the most common problems that the community faces: slow transaction speed and high costs. Using Lightning Network, users can send and receive payments in seconds, instead of waiting for the main network to process the payment.
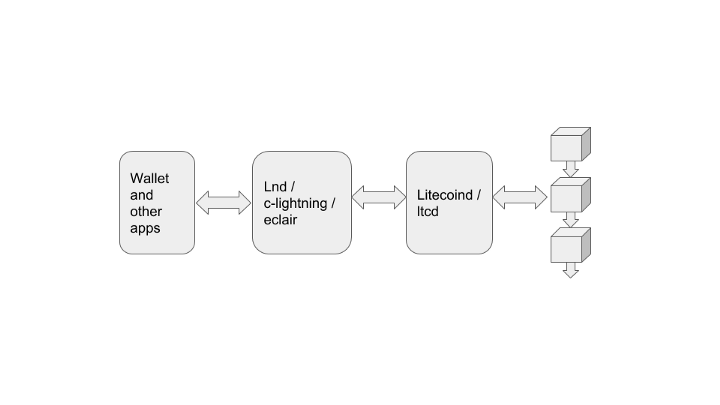
Lightning Network works as a separate blockchain that operates alongside the main Bitcoin blockchain and communicates with each other using channels. Once a channel is closed, the entire transactions that happened on the Lightning network are appended to the main blockchain, hence the faster transaction speed and reduced cost.
You can use the tutorial given here to set up your Lightning Network. Follow the guidelines and set up your Lightning Network for faster and cheaper Bitcoin transactions.


